

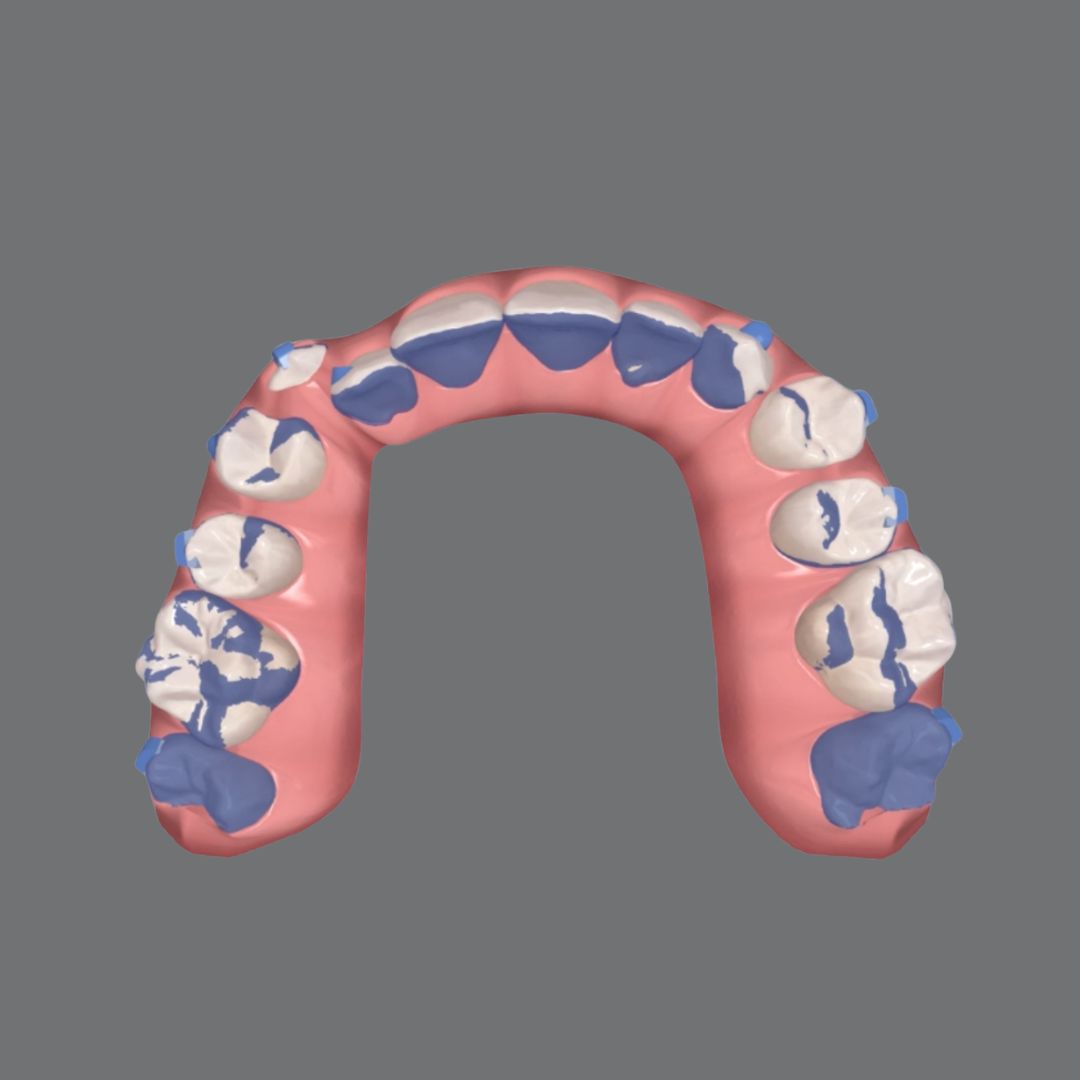
Third molar anchorage for arch development, step by step
In severe crowding, the first decision isn’t how to align, it’s where the space is going to come from. Most of the time we move between two options that both carry a cost: expanding, which loses arch depth, or compressing, which proclines the incisors beyond their biological limits. There’s a third route that many cases allow and that gets used far too little: anchor on the third molars and develop the arch differentially.
The underlying idea is simple. With a reliable anchorage point at the distal end, you can gain development without paying the price of proclining the front. With fixed appliances, using the third molars as anchorage is awkward, because bonding tubes on the eights isn’t easy. With aligners you just scan them and bring them into the anchorage scheme.
The hidden cost of expanding or compressing on their own
Think of a case with a canine well outside the arch. The temptation is to open space by expanding or compressing, but that impulse is worth resisting.
Expanding can cost you arch depth, which then makes it harder to align the canine and everything behind it. Compressing proclines the incisors, often past what the bone will tolerate. Either way you’re moving the front before there’s room for it, and moving first what doesn’t yet have space is a reliable source of forced results.
The third molars as an immovable anchorage base
The alternative is to mark the third molars as immovable and turn them into the anchorage base. With that fixed point at the distal, you plan a differential arch development: the incisors aren’t taken to their final position until the space they need has been generated, even if part of that movement runs in parallel with expansion.
This is what makes the mechanics efficient. Each movement isn’t worked in isolation; the sequence is designed so every phase creates the conditions for the next. Distal anchorage lets you develop, development generates space, and that space is what makes it possible to accommodate the canine and incisors without over-proclining.
Hold the space in the setup to cut friction
One detail makes the difference: in the setup, ask for the space to be held throughout the movement instead of closing it on the way. Keeping those gaps reduces friction and lets expansion and projection happen much more cleanly. The spaces close in the final position, but while the movement lasts they’re exactly what keeps it simple.
Incisor torque, only once there’s room
After the first set of aligners the arch is developed, and only then do you turn to incisor torque, not before. Working front torque before there’s space means fighting the case itself; doing it with the arch already developed is a controlled, predictable movement. The third molar anchorage also keeps the teeth within the cortical plate throughout, and a differential stripping is planned from the start rather than improvised.
—
Want to plan this kind of anchorage and sequencing in your own cases? Explore how the SAS Method teaches advanced aligner biomechanics at Smart Aligner Services, peer to peer, from orthodontist to orthodontist.
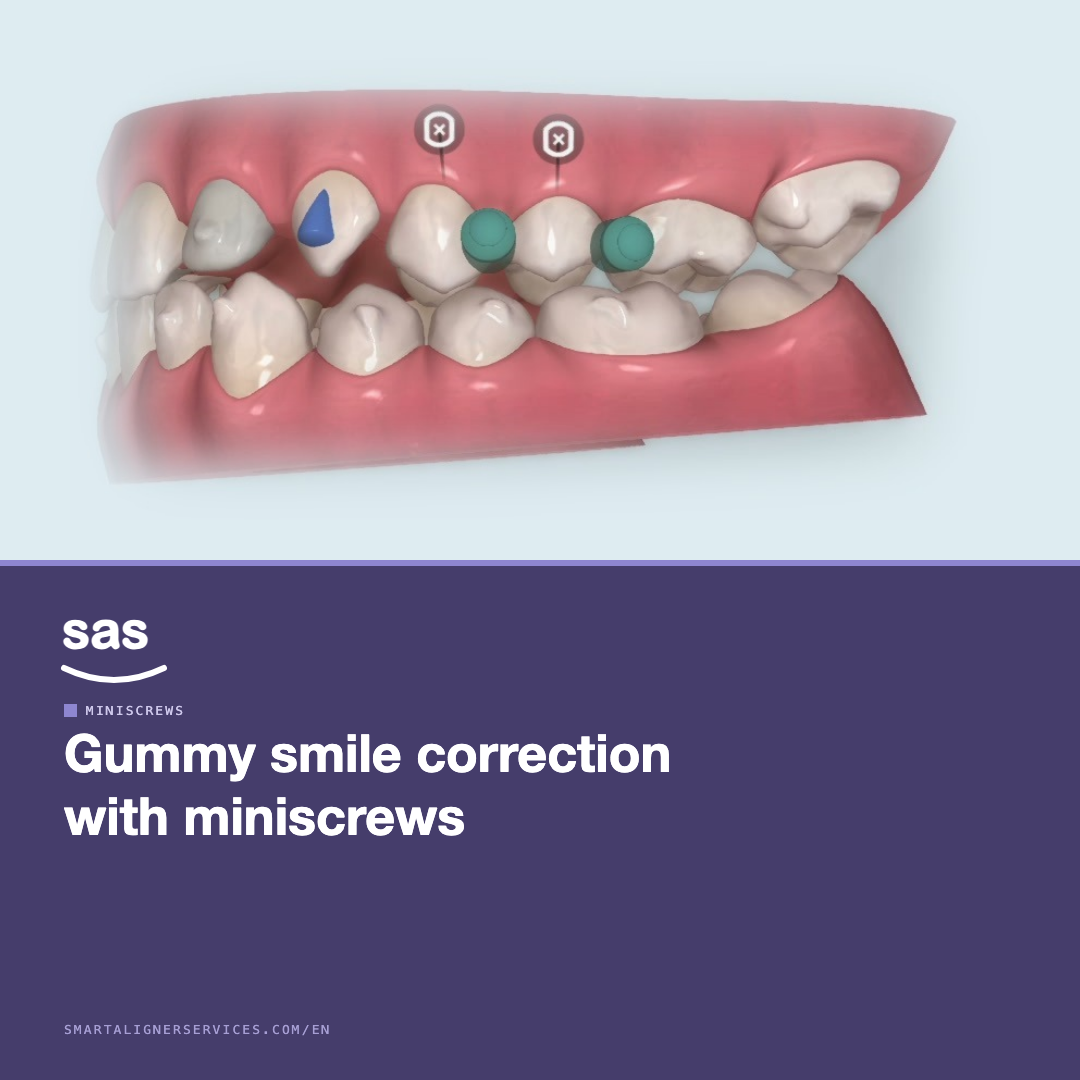
Correcting a gummy smile with miniscrews and clear aligners
Clear aligner treatment planning: how it works
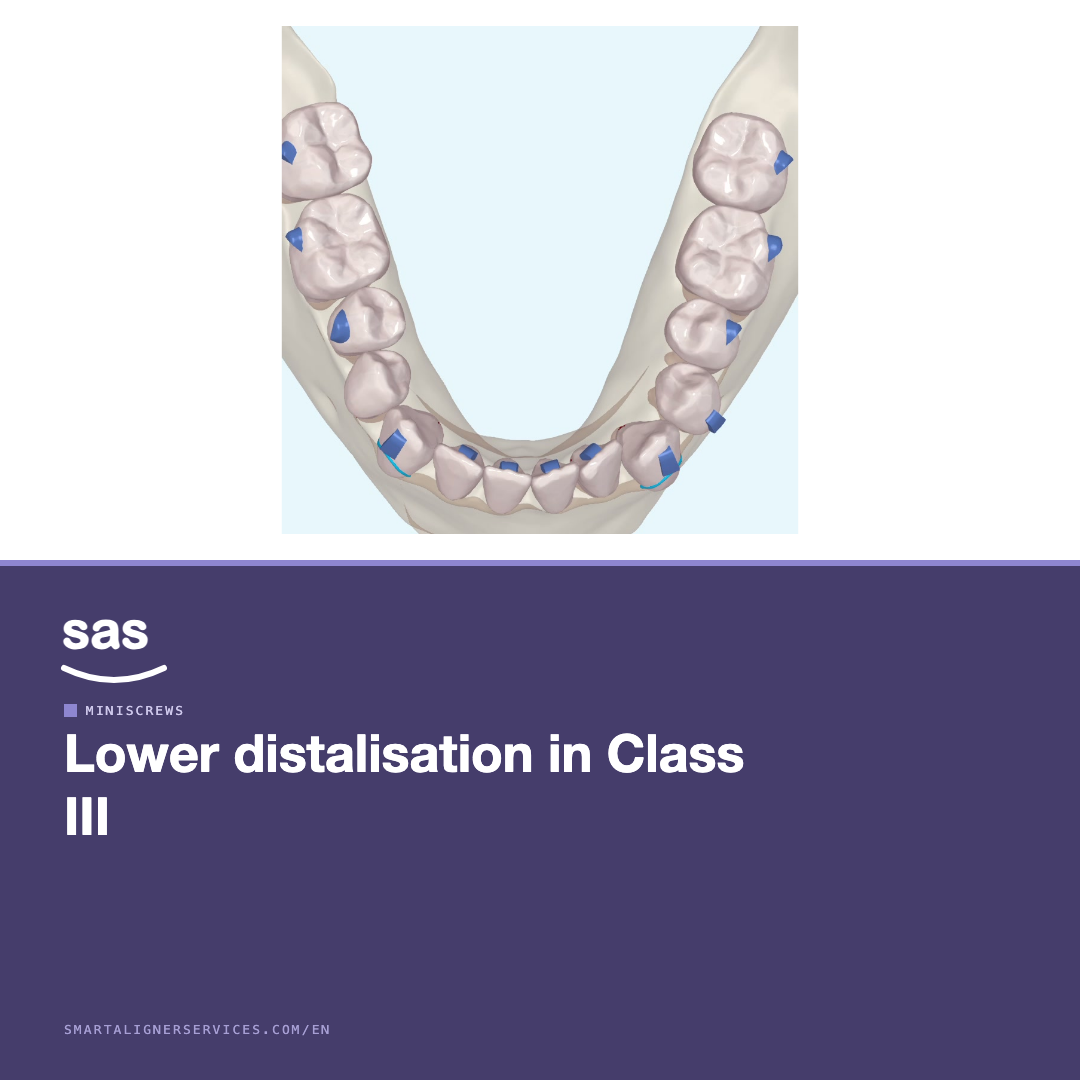
Lower distalisation with miniscrews in Class III


