

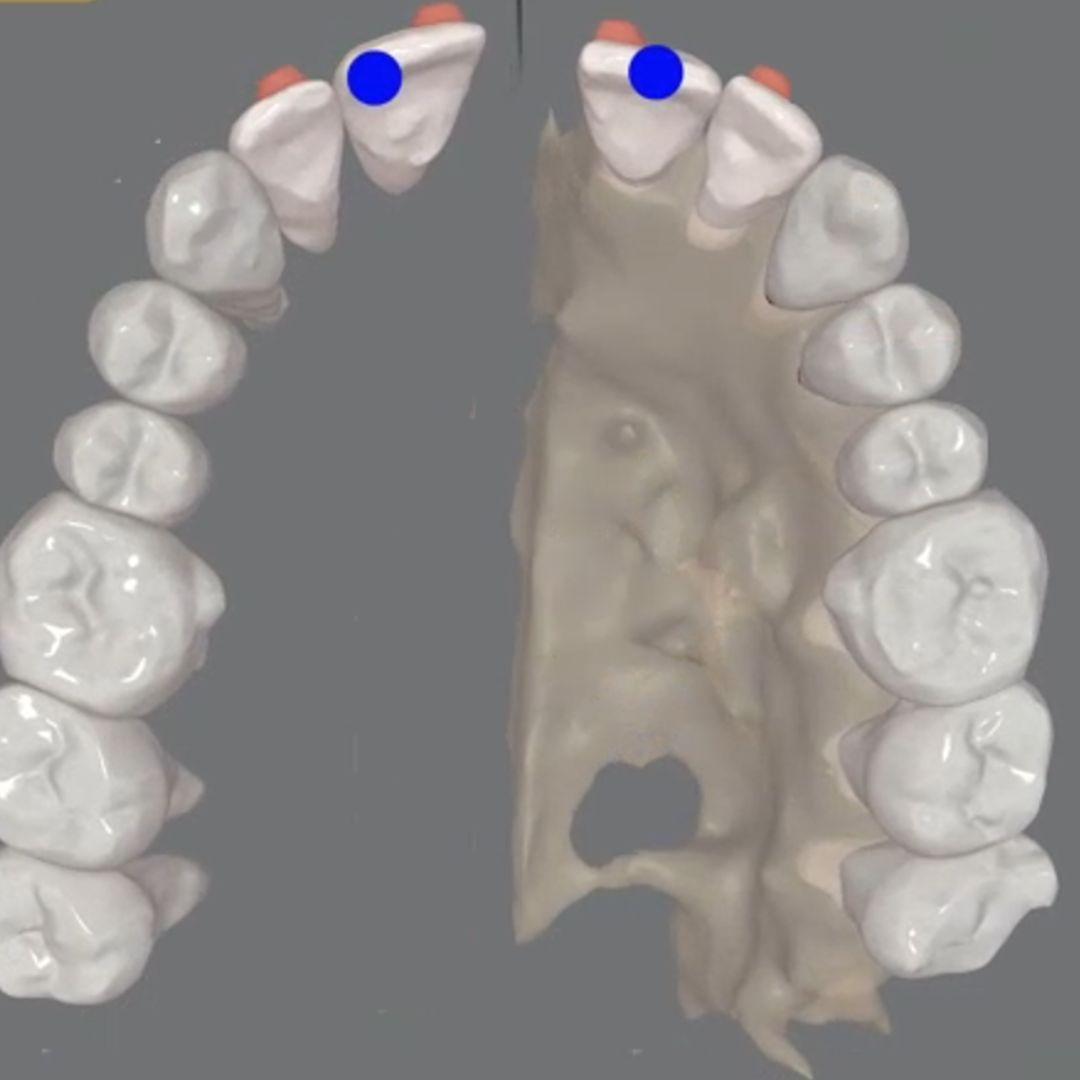
How to close the interincisal diastema after MARPE
Once transverse expansion has been achieved in an adult patient treated with MARPE, many clinicians ask the same question: how should the interincisal diastema be closed?
The objective is not simply to approximate the crowns. The key is deciding how to sequence the movement in order to maintain root control, take advantage of posterior anchorage, and avoid unwanted side effects in the anterior segment.
In expansion protocols inspired by the designs described by Dr. Juan Carlos Pérez Varela, particularly those using six micro-screws and solid skeletal anchorage, the posterior segment usually remains highly stable during the initial phase after expansion. This provides a clear biomechanical advantage if the MARPE device remains in place during the initial stage of diastema closure with aligners.
A common mistake: closing the anterior teeth as a block
From a mechanical perspective, closing all anterior teeth simultaneously may appear efficient. However, it reduces individual control and makes root tip management more difficult. When the goal is stable closure, sequencing is more important than speed.
For this reason, diastema closure should be approached as a deliberate sequence rather than a single global movement.
First phase: central incisors
The strategy begins by moving only the central incisors.
This decision follows a clear biomechanical rationale. By isolating the movement, the aligner maintains sufficient distal support, allowing the plastic to function as an active compression and control element. The presence of material distal to the teeth helps stabilize the tooth axis and reduces the tendency toward unwanted tipping.
At this stage, real root control must be programmed. This involves:
- Designing the movement with the root in mind, not only the crown
- Adding root control attachments when necessary
- Including slight strategic intrusion, even if no obvious vertical problem is present
The intrusion is not programmed for aesthetic reasons but for biomechanical stability. Its role is to assist in controlling root tip during mesial displacement and to improve movement predictability.
When the central incisors are closed under these conditions, the space is reduced with greater three dimensional control and with less need for refinements later in treatment.
Second phase: lateral incisors
Once the central incisors have been stabilized, the same pattern is applied to the lateral incisors.
The key is to repeat the same logic rather than improvising new mechanics. Maintaining posterior anchorage thanks to the MARPE remaining in place during this phase allows anterior movement to occur without losing control of the posterior segments.
Closure progresses gradually, with controlled root movement and without turning the anterior segment into a zone of compensations.
Final adjustments and arch coordination
Only when the anterior segment is correctly positioned does it make sense to perform minor adjustments to the canines and coordinate the arches.
This sequence is intentional. It follows a biomechanical logic: first control, then complete closure, and finally coordination.
Why methodology matters more than isolated movements
Closing the interincisal diastema after MARPE should not be treated as a minor detail within digital treatment planning simply because the initial focus is often on maxillary expansion. It is a biomechanically sensitive phase that requires deliberate planning and often generates aesthetic concern for the patient.
Predictable results depend not only on the aligner system but on how movements are sequenced, how anchorage is used, and how root control is programmed throughout the process.
Learn to plan these protocols with the SAS Method
At Smart Aligners Services we focus on exactly these types of clinical protocols. The SAS Method teaches orthodontists how to sequence movements, use available anchorage effectively, and design each treatment phase with root control and predictability in mind.
If you want to learn how to structure these protocols and apply them systematically in your clinical practice, discover how the SAS Method can help you plan aligner treatments with greater confidence and efficiency.
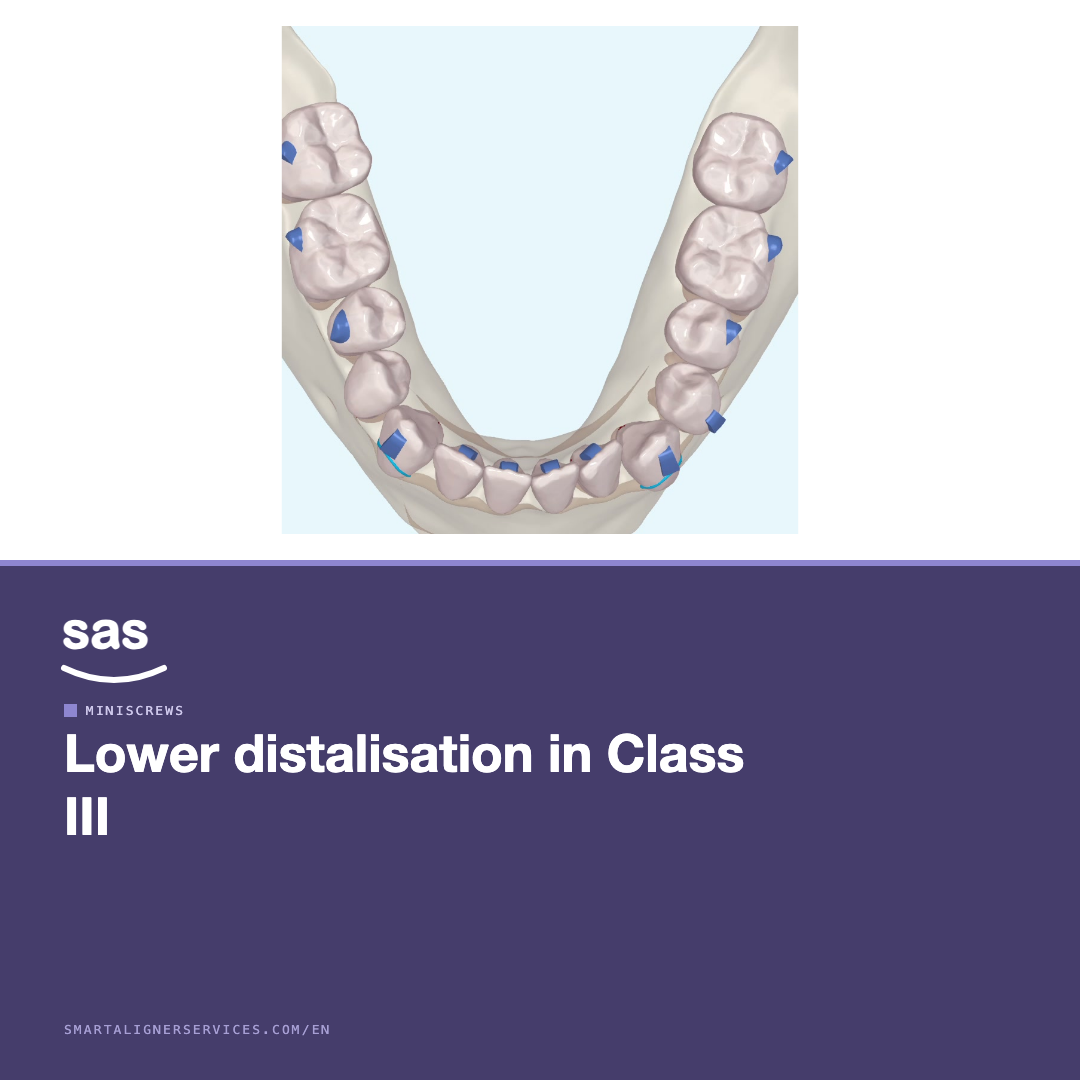
Lower distalisation with miniscrews in Class III
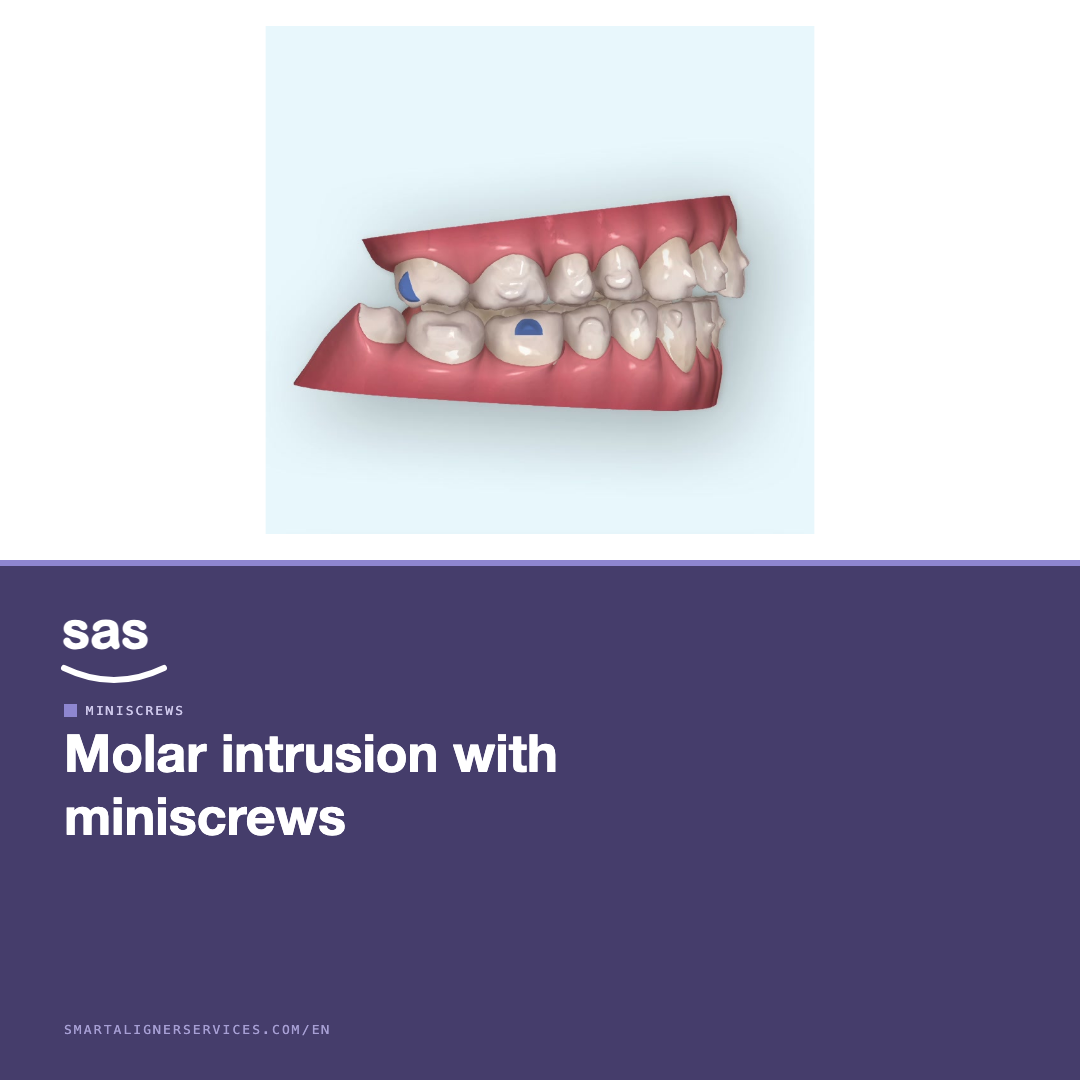
Molar intrusion with miniscrews to close an open bite
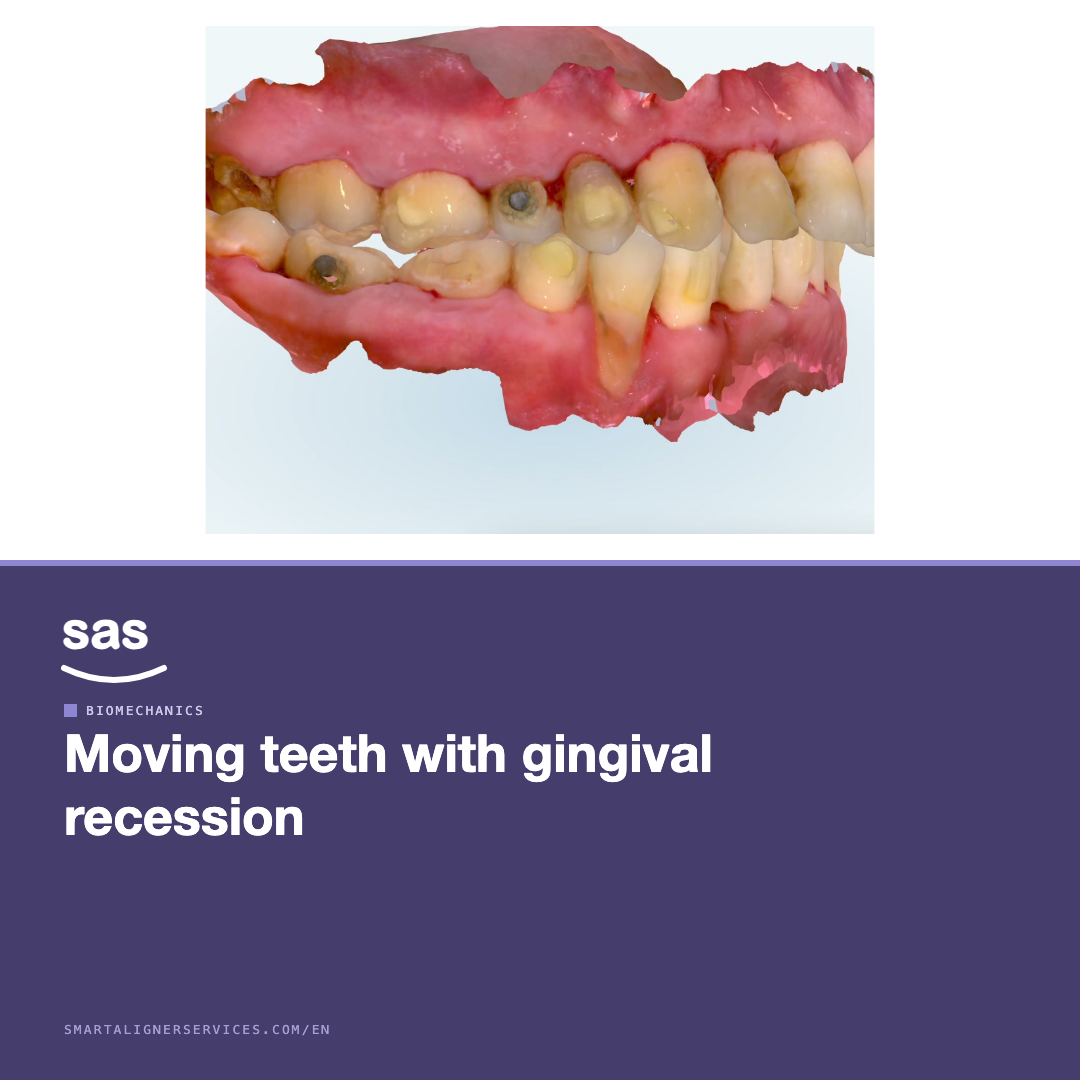
Moving teeth with gingival recession: sequence before force


