

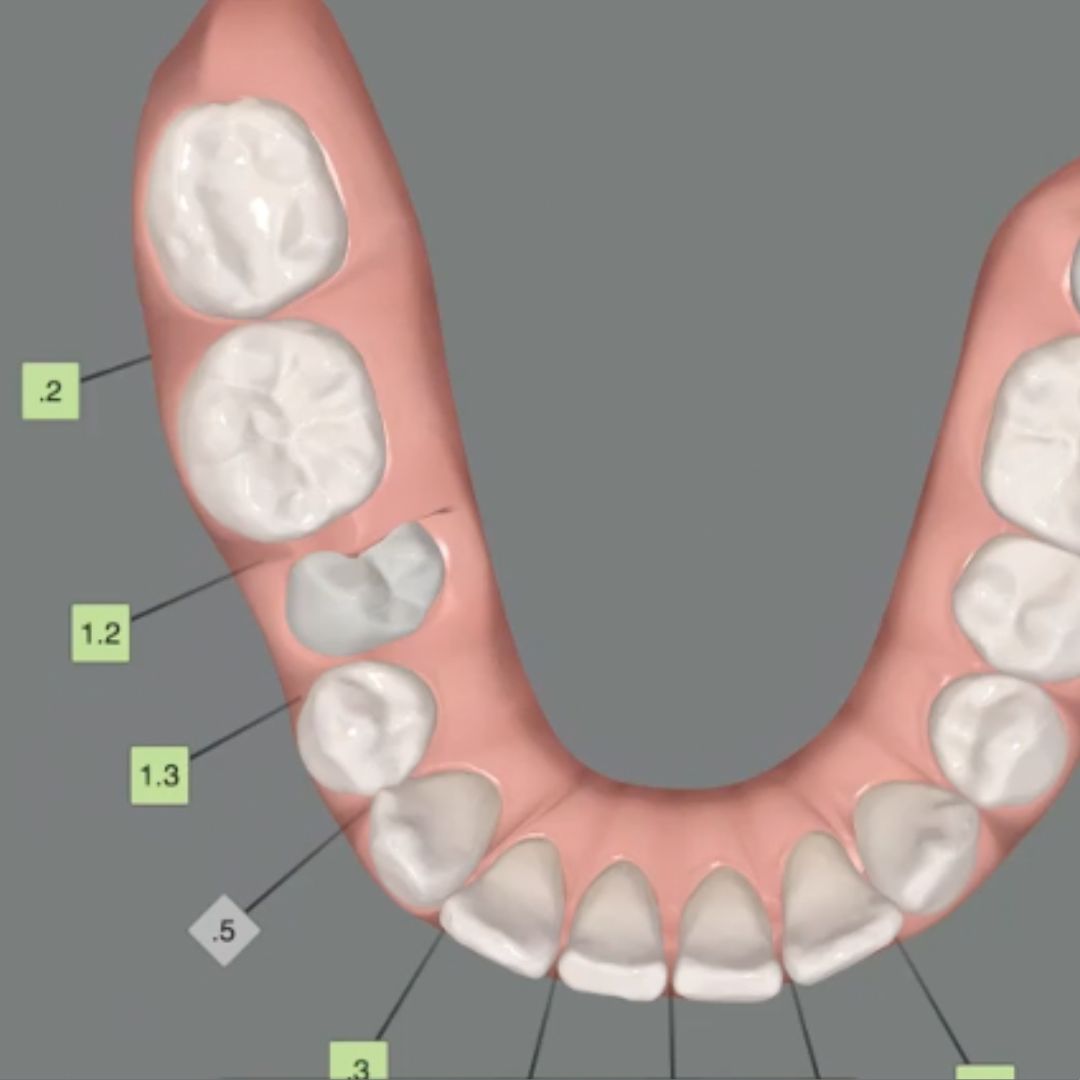
How to bring an impacted tooth into the arch with clear aligners
Traction and positioning of an impacted tooth with clear aligners requires a different approach from what digital systems typically propose by default. Most planning algorithms tend to move all teeth from the beginning of treatment, but in cases involving impacted or retained teeth, this strategy is often unpredictable.
The issue is not the ability of aligners to move teeth. The issue is the timing of when that movement is initiated.
First phase: creating real space
Before attempting to bring the impacted tooth into the arch, it is essential to create sufficient and stable space. If the aligner tries to move the tooth before a favorable anatomical environment exists, control will be limited, especially when clinical crown exposure is minimal.
In these cases, the initial planning should not focus on the impacted tooth, but on the rest of the arch. The sequence may include:
- Alignment and leveling movements
- Sequential molar distalization
- Space redistribution within the affected quadrant
The goal of this first phase is to finish with slightly more space than the final required dimension. This planned overcorrection compensates for the typical loss of clinical expression and facilitates the next stage.
Attempting traction without adequate space not only reduces efficiency, but also limits the contact between the aligner and the crown, compromising control.
New scan and second planning phase
Once space has been created and the anatomical conditions improved, a new scan is recommended. This step is critical.
With increased crown exposure and a more favorable occlusal environment, the aligner can exert significantly better control. At this stage, vertical movement, whether extrusion or disimpaction depending on the case, can be planned under more favorable mechanical conditions.
At Smart Aligners Services, we emphasize this concept: not everything should be solved in the first set of aligners. Dividing treatment into strategic phases improves predictability and reduces the need for corrections later.
Vertical movement and increased control surface
The vertical movement of the impacted tooth is not only intended to bring it into the arch. It also increases the available crown surface for aligner contact.
This increase in surface area improves force transmission and allows rotations and three dimensional adjustments to be expressed more accurately in later stages.
This is a sequential approach: first space, then vertical movement, and finally full integration into the arch.
Maintaining space during traction
A critical aspect is preserving the space created during the initial phase. If not properly controlled, adjacent teeth tend to drift into the space, reducing the efficiency of the second treatment plan.
For this reason, the planning must include strategies to stabilize that space while the impacted tooth is progressively positioned.
Sequencing over simultaneity
The tendency to solve everything within a single treatment plan often reflects software logic rather than biomechanical logic.
Clinical experience shows that dividing the process into phases, space creation, new records, vertical movement, and final alignment, provides greater control and predictability. Treatment becomes more stable because each stage has a clear mechanical objective.
Plan impacted tooth cases with the SAS Method
At Smart Aligners Services, we teach this exact approach through the SAS Method. Complex treatments with aligners are designed through strategic sequencing, not simultaneous movements suggested automatically by the system.
The difference is not in the technology. It is in how biomechanics are structured.
If you want to learn how to plan impacted tooth traction with a sequential and predictable approach, discover how the SAS Method can help you structure these cases with greater control and efficiency.
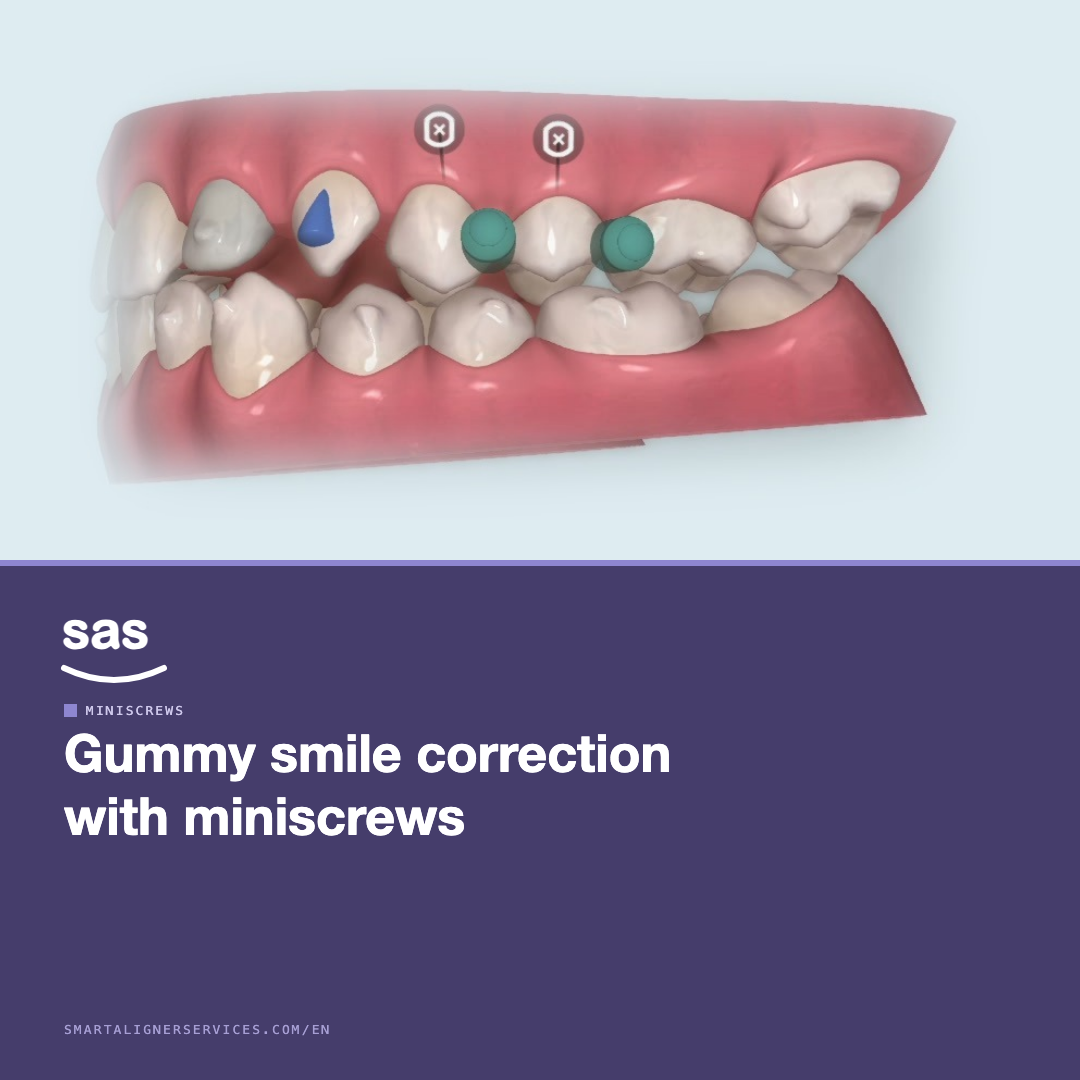
Correcting a gummy smile with miniscrews and clear aligners
Clear aligner treatment planning: how it works
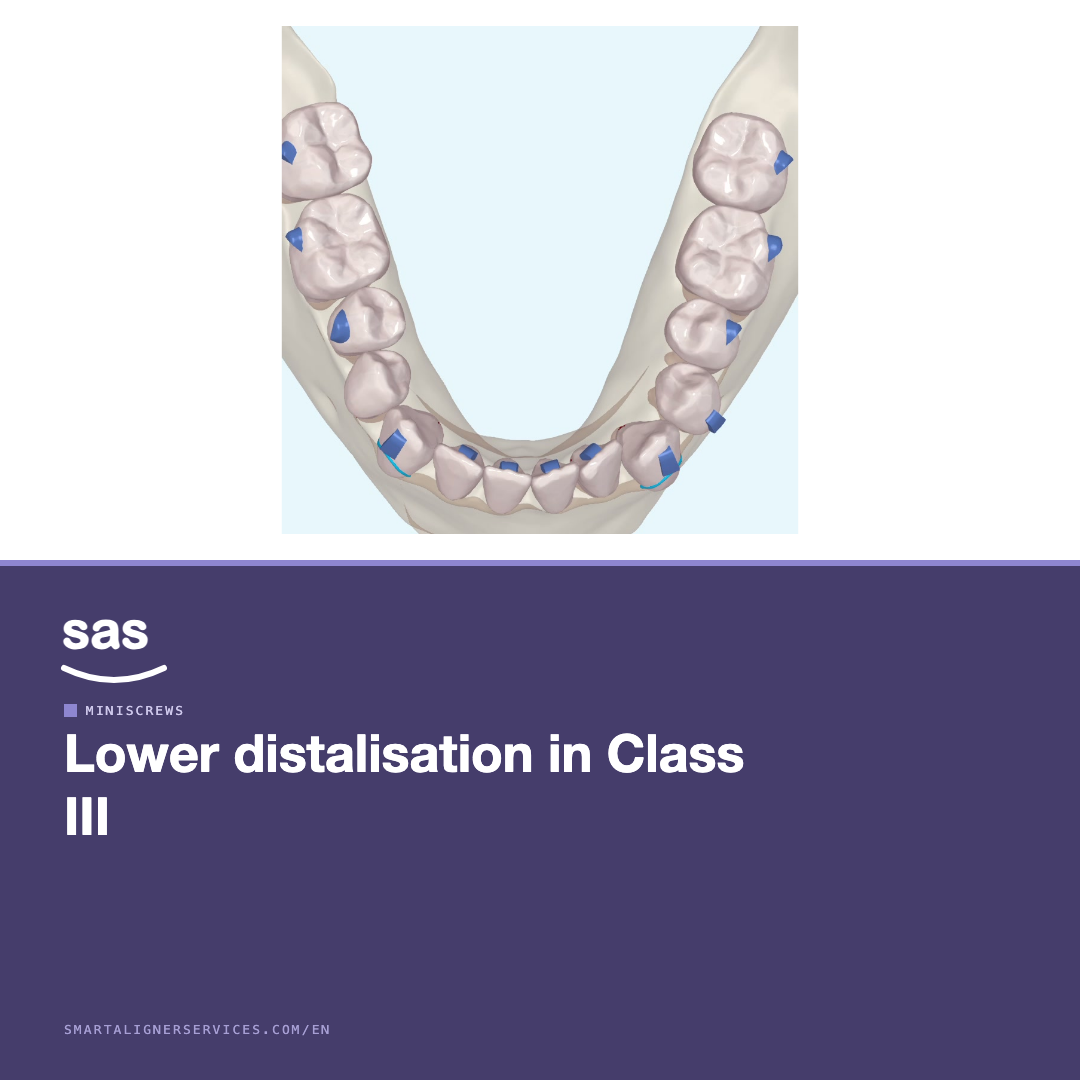
Lower distalisation with miniscrews in Class III


