Flattening the Spee curve with a limited number of aligners
Working with fewer than 20 aligners whilst needing to flatten the Spee curve at the same time is a situation that puts planning to the test. The most common mistake is to attempt to intrude the incisors directly, without first creating the conditions for that movement to occur. The result is usually partial intrusion, a misalignment in the posterior regions, or both.
The protocol described below resolves this problem with a three-phase sequence.
The final position: spaces you can’t see but that make all the difference
The first step is to correctly define the final position before touching anything else.
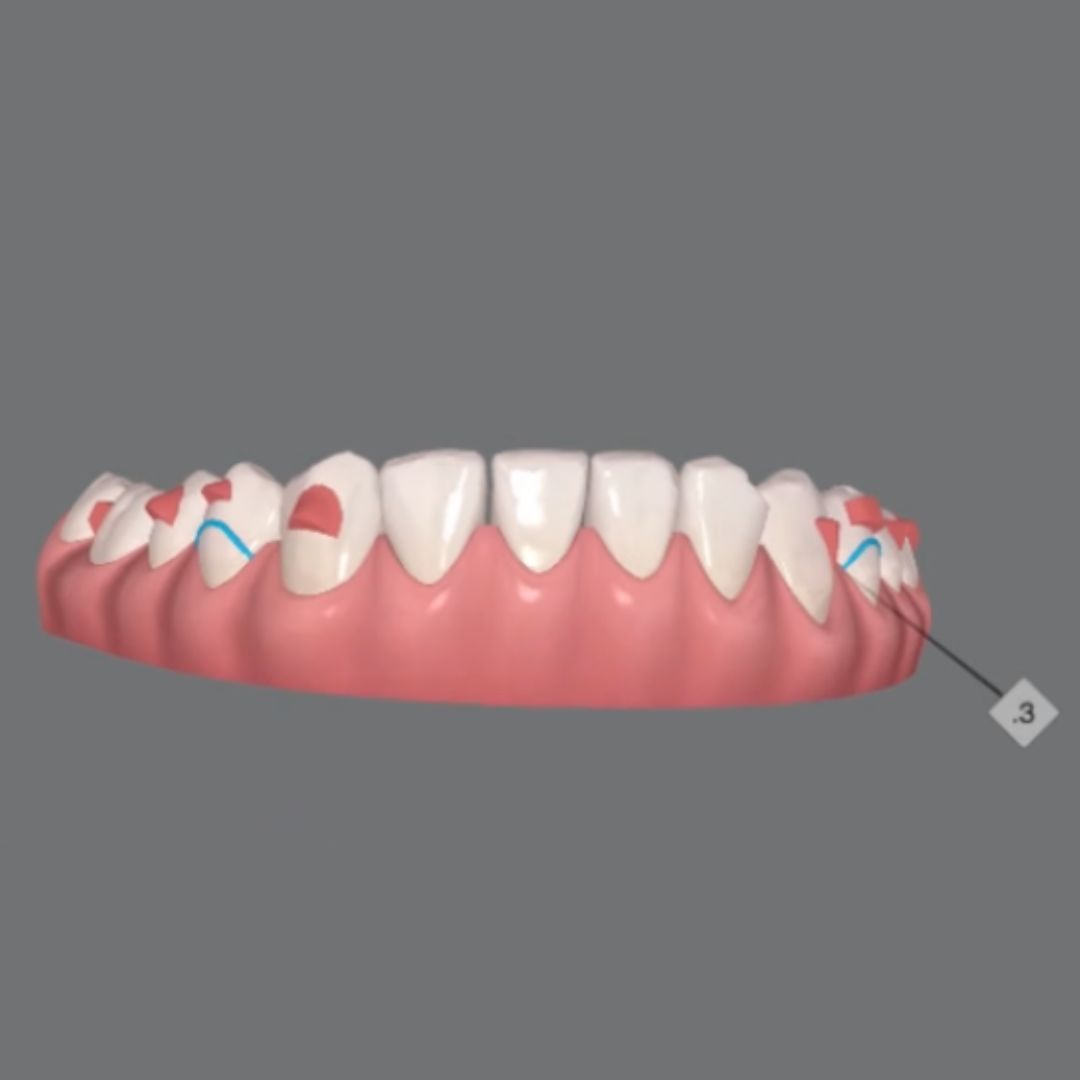
You must ensure that there are spaces of between 0.2 and 0.3 mm from 33 to 43. These will not be visible in the mouth, but their presence in the digital planning is what allows the system to achieve the flattening of the curve and the intrusion we require. Without these spaces in the final position, the movement has nowhere to go.
Proinclination and intrusion: the order matters
Once the final position has been defined, the sequence begins with the proinclination of the incisors.
This movement must occur simultaneously with the compression of the more distal teeth, which are usually the second molars. The aim is to gradually create a parabolic arch form that paves the way for the next phase.
Only once these spaces have been created through proinclination does it make sense to request intrusion of the incisors. And here is a critical instruction that must be explicitly conveyed to the CAD designer: intrude without retracting. The spaces are the final position. The incisors are not retracted.
If this instruction is not given explicitly, the technician will tend to close those spaces with retrusion, and the mechanics will not work as intended.
Posterior attachments are not optional
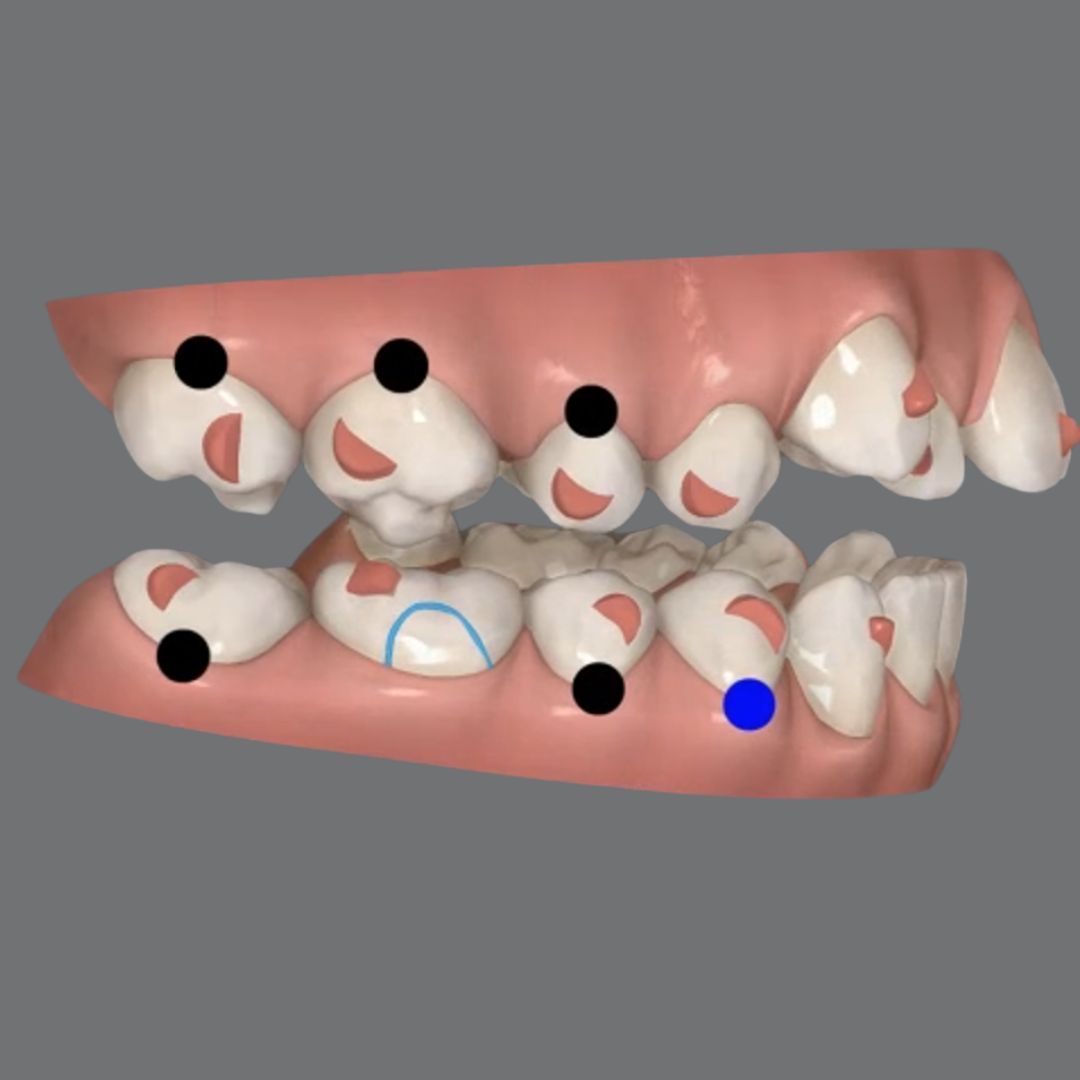
For anterior intrusion to occur in a controlled manner, the posterior sectors require real anchorage.
Teeth 3 to 6 must have extrusion attachments. Without them, the system lacks the necessary support to achieve anterior intrusion, and the movement is diluted or compensated for in an undesirable way.
The Spee curve does not flatten out on its own
This is one of those movements where digital planning can give a false sense of control. The curve appears flattened on the screen, but if the sequence is incorrect, the same does not occur in the patient’s mouth.
When the sequence is followed correctly (final position with spaces, proinclination simultaneous with distal compression, intrusion without retrusion, extrusion attachments on the posterior teeth), the movement is achieved within the limited space available and without the need for avoidable refinements.
If you want to learn how to structure these types of sequences and apply them using your own clinical judgement, you can find out more about the SAS Method here.

Arch Compression with Aligners: Why Sequence Beats Force
Molar uprighting in a single aligner package
How to avoid interferences in your digitalizations