


Attachments in clear aligners: what they do and which types matter
Clear aligners move teeth with light, continuous forces, but some movements are hard for a smooth plastic tray to achieve on its own. That is where attachments come in: small tooth-coloured composite bumps bonded to the tooth that give the aligner a defined point to push or pull against. Without them, certain movements are slow or unpredictable.
What attachments actually do
An aligner wraps the tooth, but on a smooth crown it tends to slip. An attachment creates a surface the tray can engage, so the force goes where you want it instead of dissipating. In practice they do three things:
– Improve grip, so the planned force is actually delivered to the tooth.
– Make hard movements possible: rotations of round teeth like canines, extrusions, and root torque control.
– Increase predictability, narrowing the gap between the planned movement and the real one.
The main types
There is no single attachment. The shape is chosen for the movement you need.
– Conventional attachments (rectangular or bevelled): simple geometries for anchorage and basic movements.
– Optimised attachments: designed by the software for a specific movement (rotation, extrusion, root control) and oriented to the biomechanics of the case.
– Anchorage attachments: placed not to move that tooth but to turn it into a stable support while others move.
The choice is not cosmetic. Each shape answers a precise biomechanical function.
How and when they are placed
Attachments are planned in the digital setup, before treatment starts, and bonded with a positioning template and tooth-coloured composite. They are small and discreet, and they are removed at the end without damaging the enamel. Their position is not random: it follows the movement planned for that tooth at each stage.
Planning is what makes them work
Attachments are a tool, not a shortcut. Their value depends on how they are planned: which shape, on which tooth, in which phase and with what biomechanical goal. Planned well, they turn complex movements into predictable ones. Placed by default, they add very little.
—
Want to understand aligner biomechanics and plan attachments and sequencing with real judgement? Explore how the SAS Method teaches advanced aligner biomechanics at Smart Aligner Services, peer to peer, from orthodontist to orthodontist.
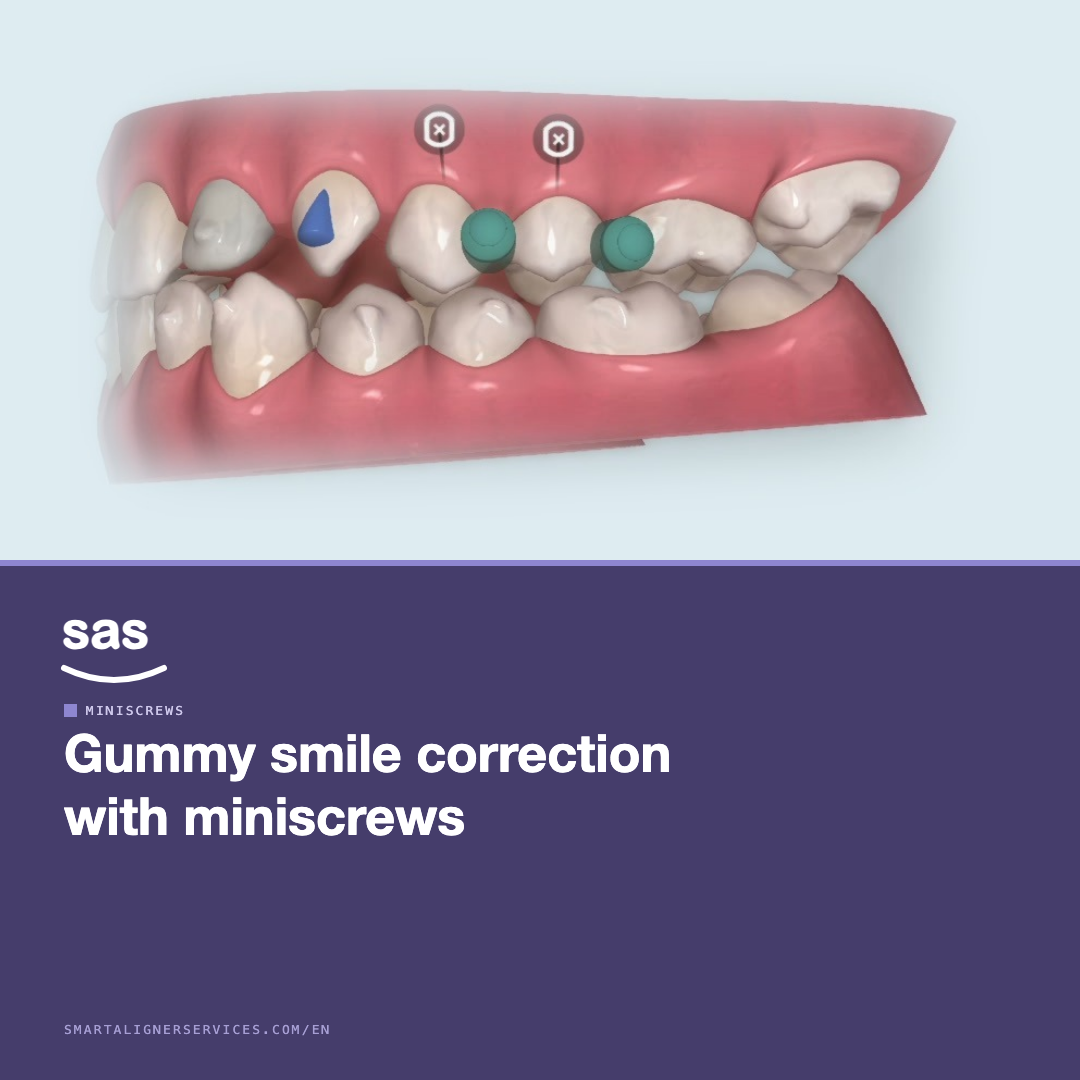
Correcting a gummy smile with miniscrews and clear aligners

Clear aligner treatment planning: how it works
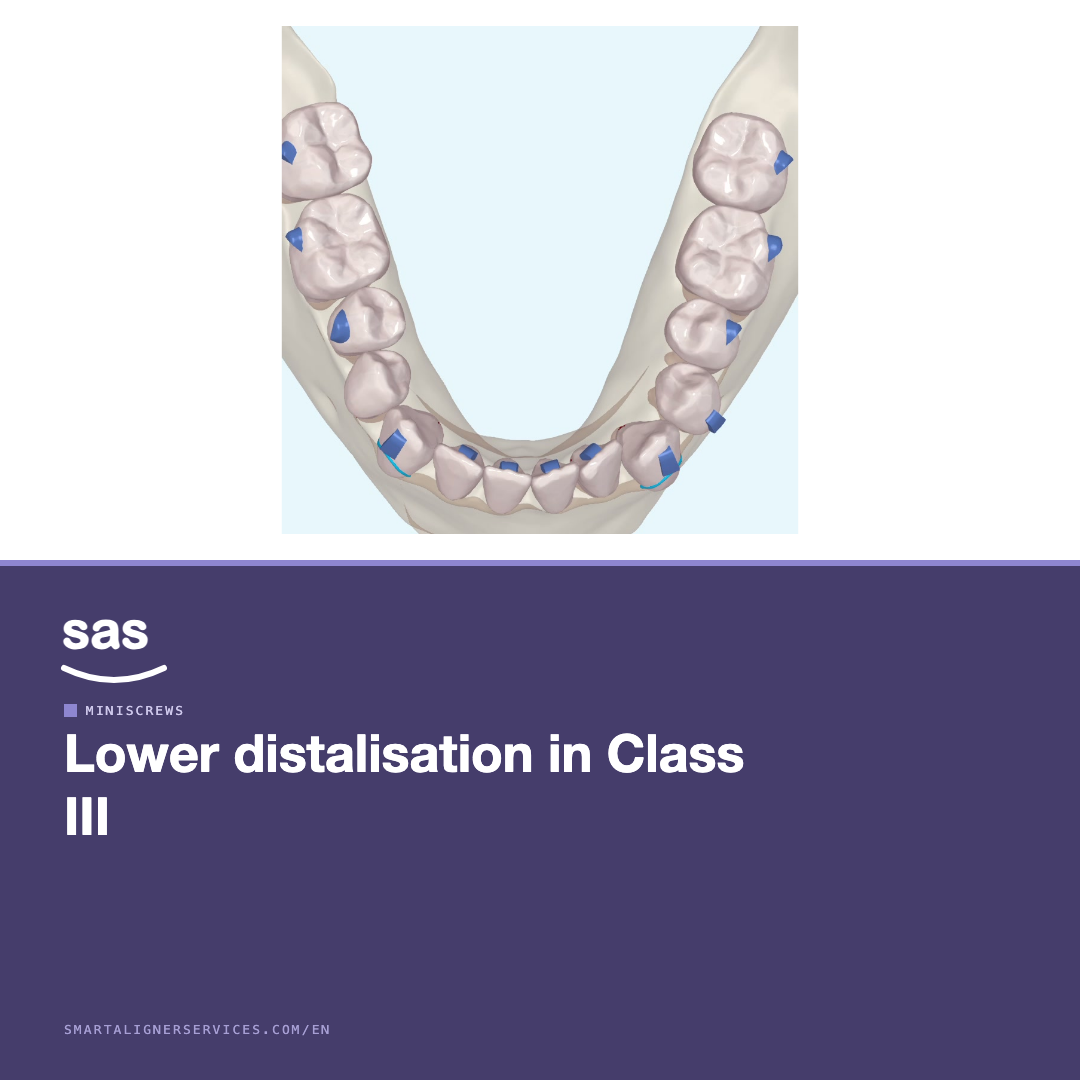
Lower distalisation with miniscrews in Class III


