Second molar in crossbite: solving it with aligners, without elastics or TADs
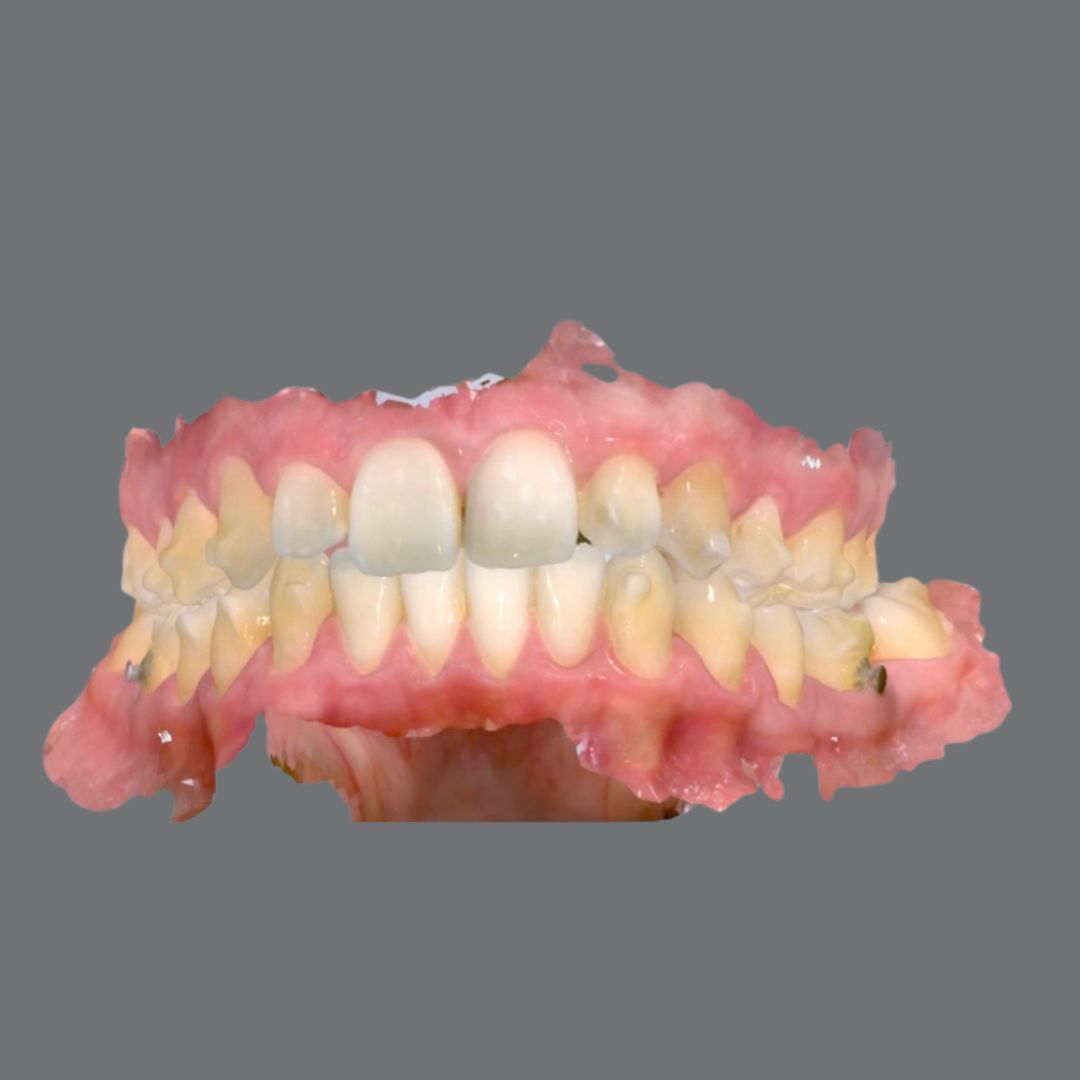
A second molar in crossbite is often filed under “needs elastics or miniscrews.” In many situations that assumption is reasonable, but it is not inevitable. With a sequence designed properly, and with the patient’s own occlusion used as a biomechanical resource, this case can be solved without auxiliaries. What follows is how, and above all in what order.
This is a case where the SAS Method logic shows its value: you do not attack the problem tooth head-on, you set up the conditions around it first and let each phase prepare the next.
Start with the tooth behind, not the one in crossbite
The starting point is not the molar in crossbite, but the one distal to it. In the first aligner set we distalise the second molar. That movement reduces the friction on the first molar and lets us compress it more easily in the next phase. The second molar stays held back for now and is reserved for a second phase.
With this sequence, in many cases we correct the crossbite of the first molar without expanding the upper arch and without compromising the periodontium, which is usually the real priority in these patients.
The third molar as a resource: an intentional bite ramp
To work the second molar in the second phase, the system needs anchorage and forces. This is where a resource that fixed appliances use naturally, but aligners neglect too often, comes in: bringing the third molar into the system.
If the third molar is present, we include it in the plan and design an intentional bite ramp on it, calculated to occlude specifically on the distal cusp of the lower second molar. That controlled occlusal contact generates the forces the next phase needs, turning the patient’s occlusion into the engine of the movement. The resource is particularly effective in brachyfacial patients; in dolichofacial ones the effect is smaller, but it still supports the mechanic.
Phase two: distalise, intrude and compress, in that order
With the bite ramp active and the first molar stabilised as immovable anchorage, the second molar is worked in three consecutive steps.
First it is distalised. Then, using the space created and the occlusal contact of the ramp, we program intrusion, much of which the patient’s own occlusion provides. Finally, with the first molar as solid anchorage, we compress the second molar while making sure the system delivers the maximum radiculolingual torque per aligner.
That differential torque is what lets the compression happen with three-dimensional control, without tipping the crown.
Use the patient’s occlusion instead of fighting it
What makes this protocol efficient is that it does not fight the patient’s occlusion, it incorporates it. The bite ramp on the third molar turns a contact that in another context would be an interference into a working force. That is the difference between reactive planning and planning that anticipates and uses what the case already offers.
When the sequence is respected, first the first molar, the second molar in a second phase, an intentional ramp on the third molar and differential torque during compression, the result comes without elastics, without miniscrews and without compromising the supporting tissues.
Want to design differential mechanics like this in your own cases? Explore how the teaches advanced aligner biomechanics at Smart Aligner Services.

Attachments in clear aligners: what they do and which types matter
Using a Bolton discrepancy to simplify extraction cases
Clear aligner training for orthodontists: what actually moves the needle