

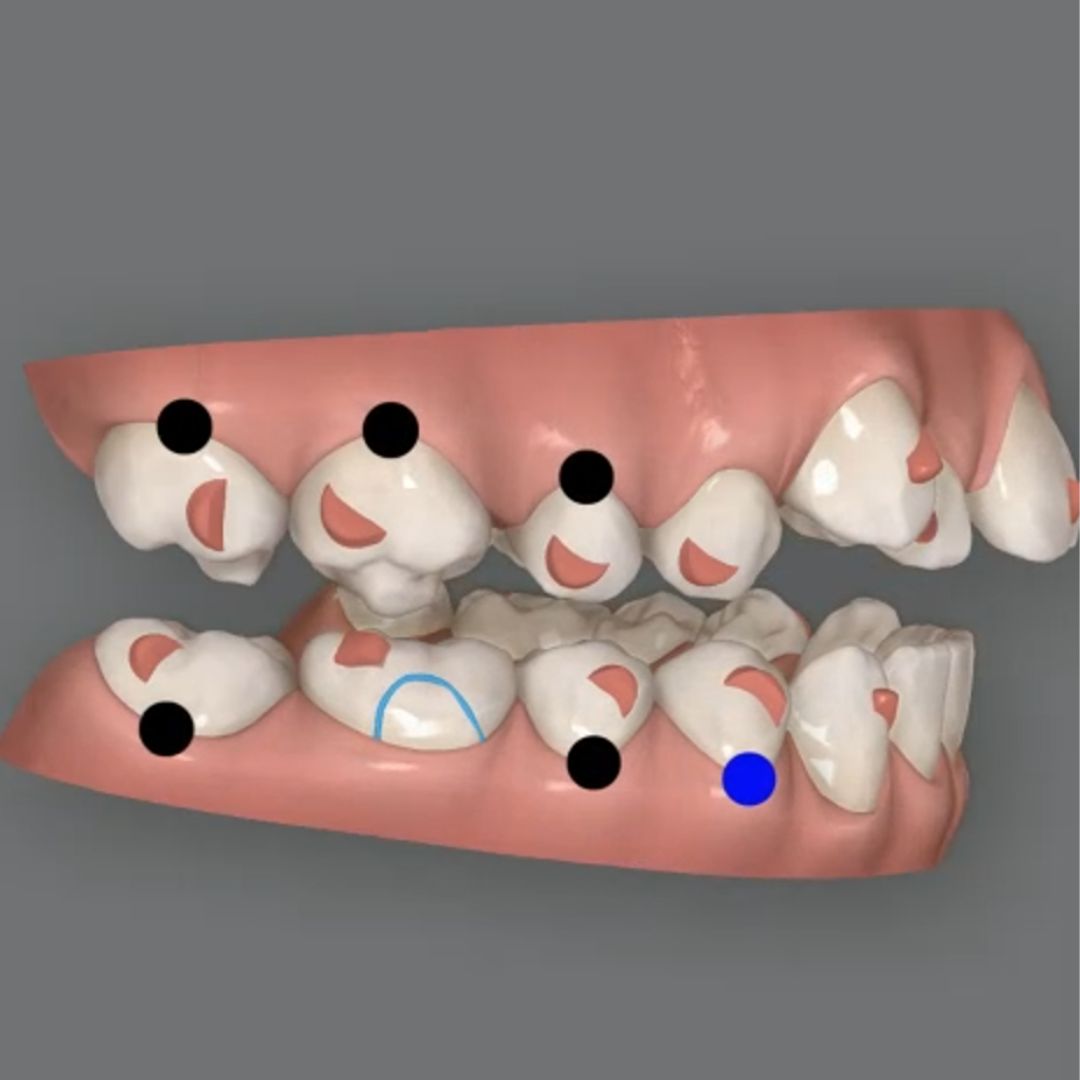
How to intrude molars with clear aligners
Molar intrusion with clear aligners continues to raise questions among clinicians, especially when the objective is not only to adjust contacts or modify a cusp, but to produce a real change in the occlusal plane and, in some cases, promote mandibular autorotation.
From a biomechanical perspective, posterior intrusion is not inherently complex. However, it becomes unpredictable when it is not properly sequenced or when the logic of anchorage and the patient’s functional space is not respected.
A prerequisite: understanding the interocclusal free space
Intrusion does not occur simply by programming it in the software. As in fixed orthodontics, the system must overcome the interocclusal free space at rest. If there is not enough bite opening, the movement will either be blocked or compensated.
For this reason, achieving true molar intrusion requires adequate occlusal clearance. Small features integrated into the aligner, such as ramps or other low thickness elements, do not always provide sufficient magnitude. In these cases, properly designed bite build-ups are essential to overcome the functional space.
This is not a secondary detail. It is a mechanical requirement.
Sequencing: do not intrude everything at once
One of the most common mistakes is attempting to intrude multiple posterior teeth simultaneously. When this happens, the system loses anchorage and the movement becomes diluted.
Molar intrusion should be approached as a progressive sequence. First, a specific tooth is intruded, usually the most distal molar, while the rest of the arch acts as active anchorage through strategically designed attachments.
Once this phase is completed, the intruded molar becomes anchorage for the next tooth. In this way, the mechanics rely on structures that have already been stabilized. Only when posterior control is sufficient does it make sense to initiate broader movements or sequential intrusion of premolars.
This logic transforms a potentially unstable movement into a controlled progression.
When anchorage changes the strategy
Not all quadrants behave the same way. The presence or absence of full eruption of the second molar significantly affects the strategy.
If the distal molar is not fully erupted, it cannot be used as effective anchorage. In these situations, intrusion of the adjacent molar must be planned more carefully. The aligner can be designed with cutouts for buttons, allowing for the placement of a reinforcement miniscrew if needed.
Skeletal anchorage is not required in every case, but it should be considered when system stability demands it. It can be used not only to assist intrusion with elastics, but also to facilitate minor disimpactions or preliminary adjustments that improve movement efficiency.
The key is not deciding in advance whether miniscrews will be used, but designing the system so they can be incorporated without having to redo the entire plan.
Three dimensional control and side effects
Posterior intrusion alters occlusal contacts and generates temporary occlusal patterns that may appear unusual during treatment. This is not necessarily a problem if the mechanics are properly planned.
Each phase must have a clear objective: intrude, stabilize, convert into anchorage, and continue. When the sequence is respected, the desired mandibular autorotation occurs as a logical biomechanical consequence rather than an uncertain side effect.
Methodology over improvisation
Molar intrusion with aligners should not depend on whether the material is capable of producing the movement, but on how the system is designed.
It requires understanding the patient’s functional space, creating adequate bite opening, sequencing movements correctly, and planning anchorage from the beginning.
Learn to control vertical movements with the SAS Method
At Smart Aligners Services, we focus on this exact biomechanical logic. The SAS Method teaches orthodontists how to structure complex vertical movements with clinical predictability and how to integrate auxiliary resources when biomechanics require it.
The difference is not in the aligner. It is in the sequence.
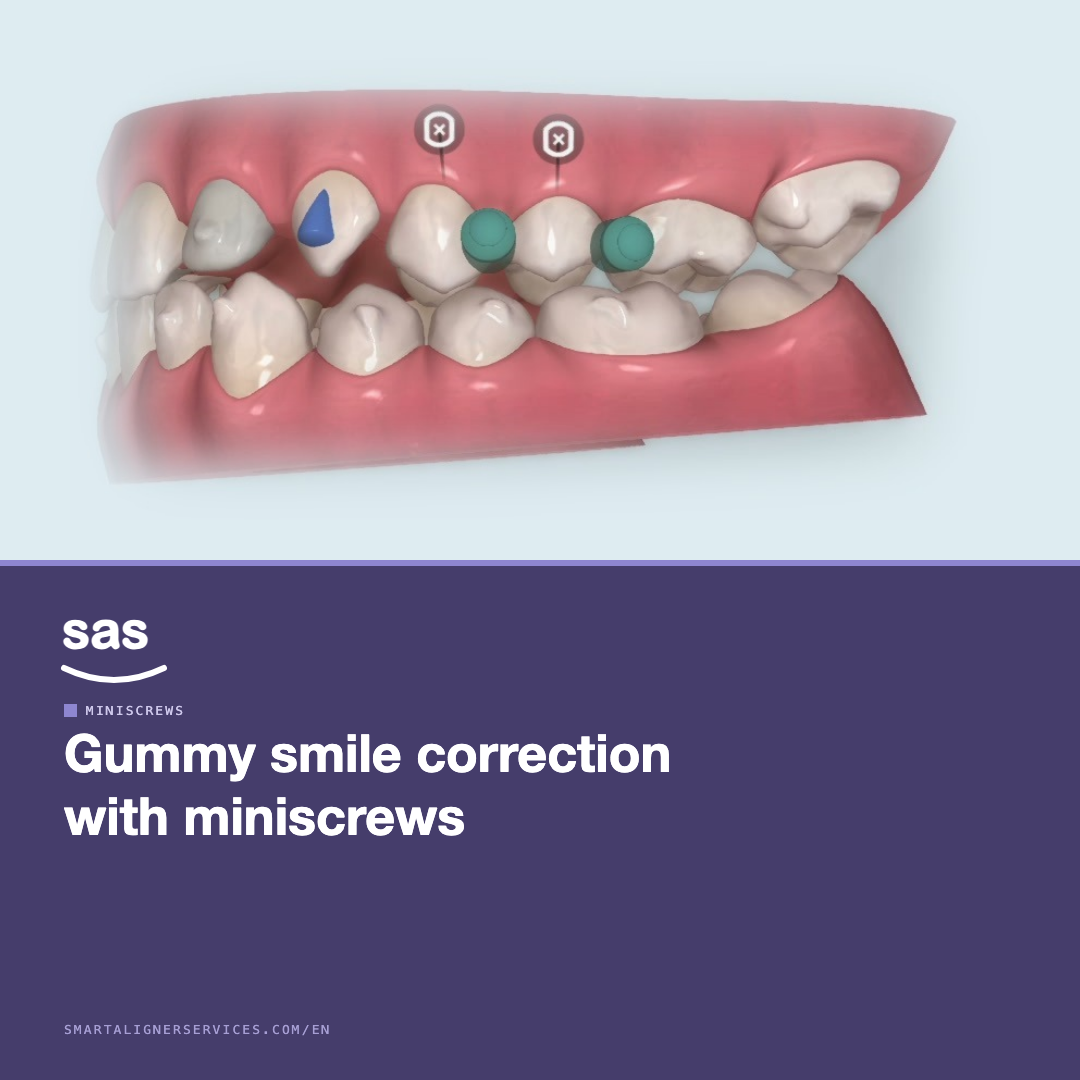
Correcting a gummy smile with miniscrews and clear aligners
Clear aligner treatment planning: how it works
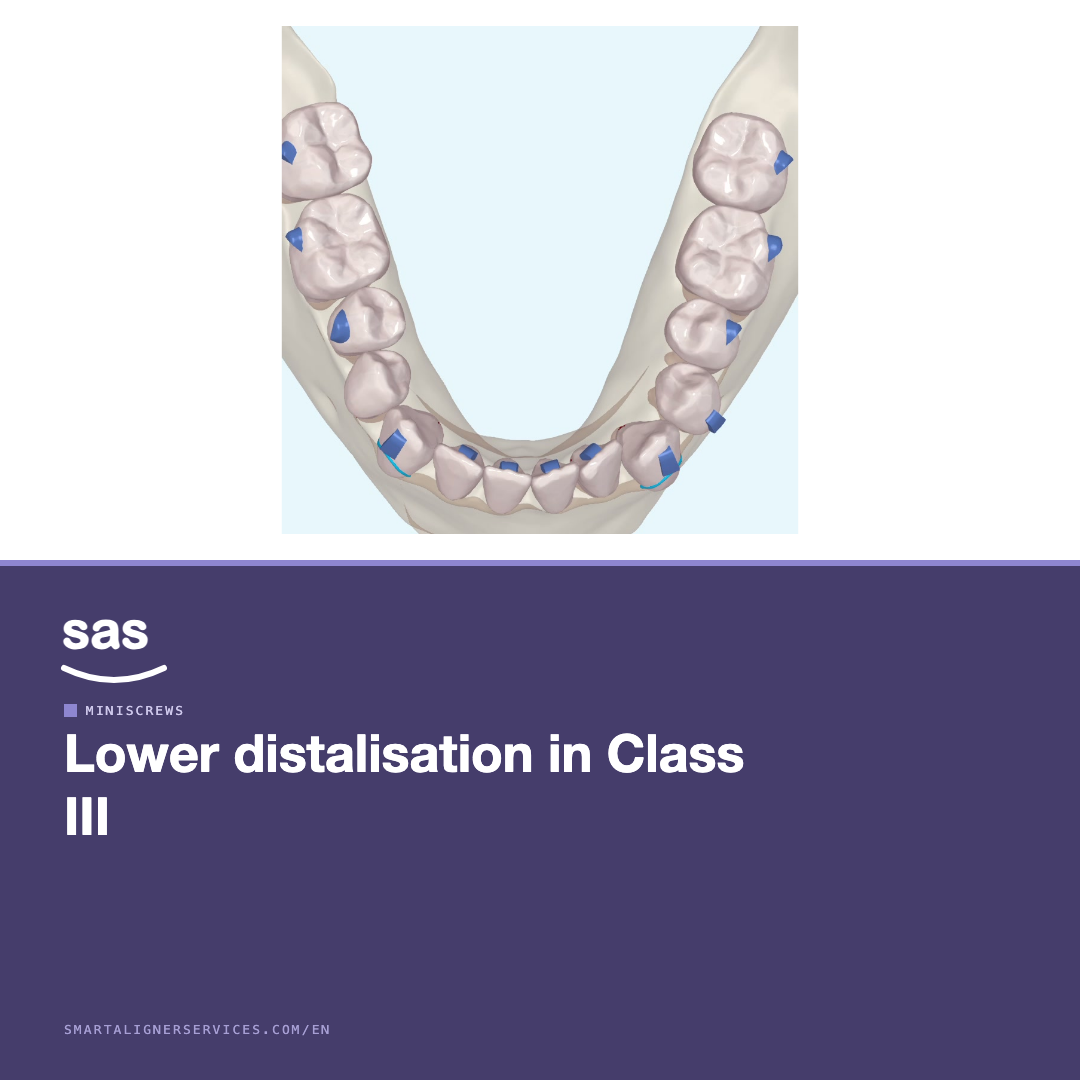
Lower distalisation with miniscrews in Class III


